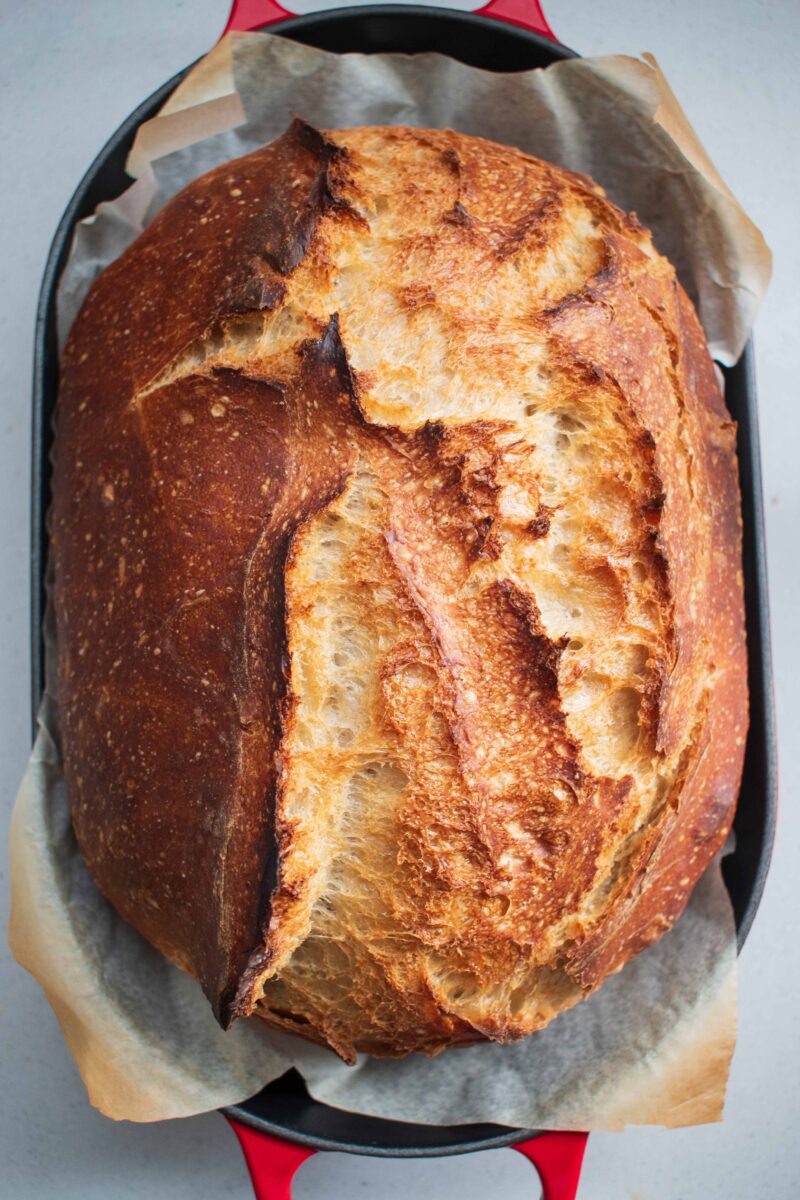
If you were looking for a sourdough guide from one expert to a beginner than just know, you’re at wrong place because I am the beginner. I aspire to reach expert level one day but that is not today. This is me taking you on my sourdough journey from day one, literally. The high, the lows and everything in between. I’ve been meaning to start this journey for awhile now but takes a person a long time to realize that there are spaces in your life where you need push and others where you just need to go with the flow of things and this was one of those. I’m just glad I’ve finally arrived and buckled myself in and we’re ready to hit the sourdough road. I mean, I can hear my starter calling me for a refeeding 🙂
What is a Sourdough Starter?
A sourdough starter is a living culture made from just flour and water that naturally ferments over time. It contains wild yeast and beneficial bacteria—mainly lactic acid bacteria—that come from the environment (the flour itself, the air, and surfaces it contacts).
As the mixture sits and is regularly “fed” with fresh flour and water, these microorganisms grow and form a stable community. The yeast produces carbon dioxide gas, which allows bread to rise, while the bacteria produce organic acids that give sourdough its characteristic tangy flavor and help preserve the bread.
In practical terms, a sourdough starter acts as a natural leavening agent, replacing commercial yeast. Bakers maintain it by discarding a portion and adding fresh flour and water at regular intervals, which keeps the microbial population active and balanced.
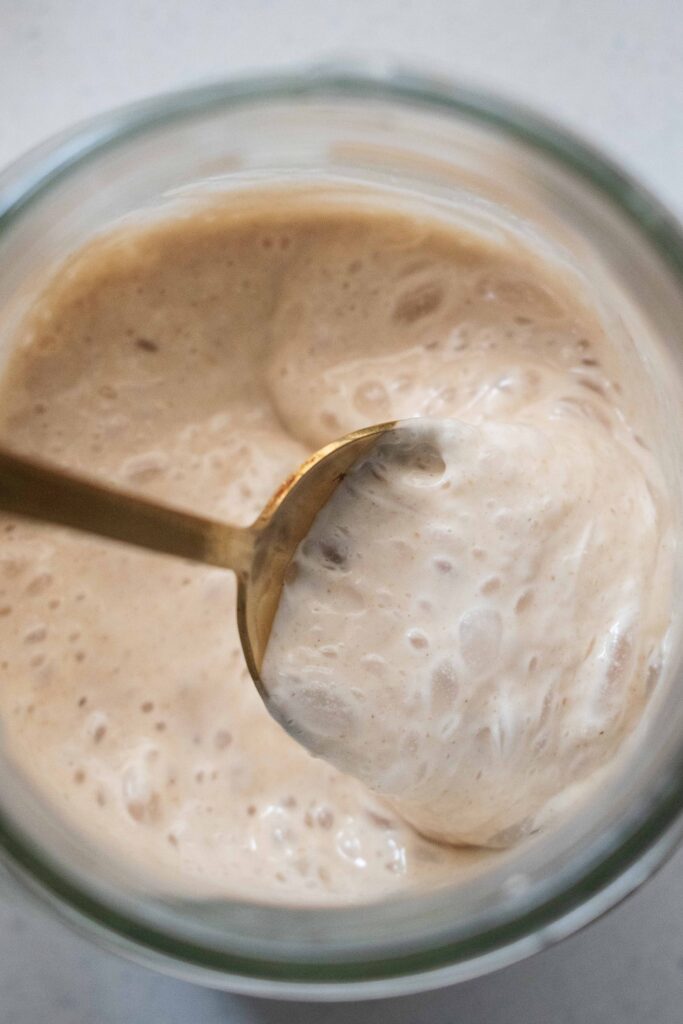
A mature starter is typically bubbly, slightly acidic in smell, and capable of consistently rising dough.
Equipment
- 1 Cast Iron Bread Oven or Dutch Oven
- 1 large mixing bowl
- 1 Dough scraper
- 1 scorer or very sharp knife
- 1 oval or round banneton or basket
- 1 kitchen scale as a beginner it's best practice
Ingredients
Sourdough Starter (ready in 10-14 days)
- x grams whole wheat flour see recipe step 1
- x grams bottled room temperature water see recipe step 1
- x grams unbleached cake flour or all purpose flour see recipe step 1
Sourdough Bread
- 350 ml/grams lukewarm bottled water
- 500 grams unbleached white bread flour
- 100 grams sourdough starter
- 10 grams fine sea salt
- rice flour to dust basket with
Instructions
Sourdough Starter
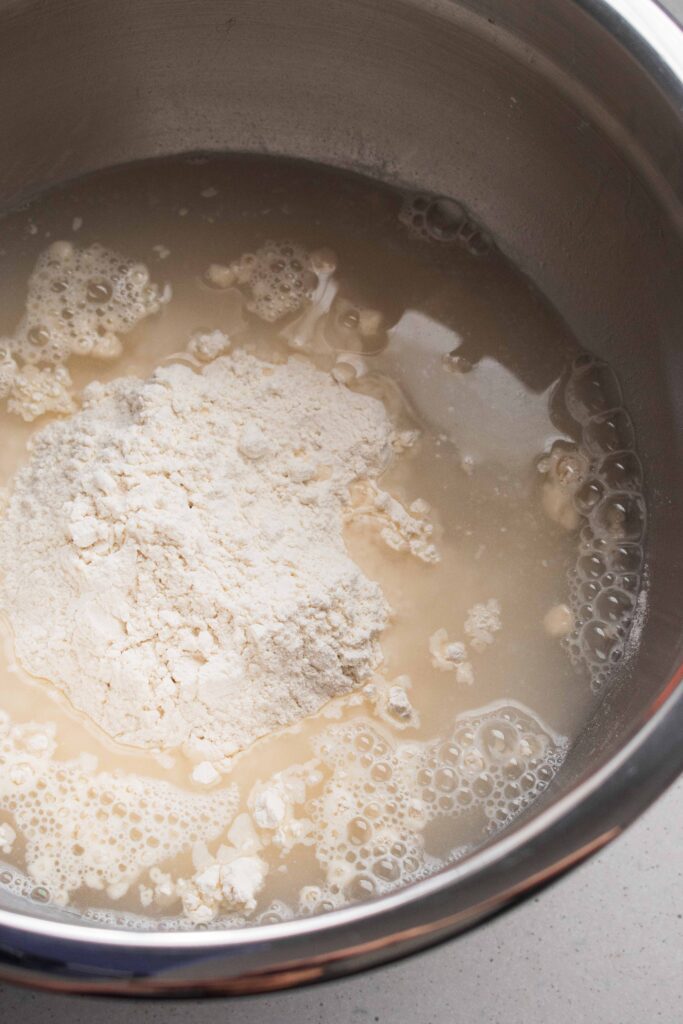
- Use a scale for the below (set to grams).Day 1: In a glass jar, preferably on the narrower side, mix 20g whole wheat flour and 20g water together until a thick paste forms. Place an elastic around the jar, leveling it to the flour mixture. Cover loosely and place on your kitchen counter for 24 hours. Note: the elastic will help you gage the starters activity.Day 2: Add 40 grams whole wheat flour and 40g water to the existing mixture and mix again. Cover loosely and place on your kitchen counter for another 24 hours. Adjust the elastic to level with the flour-water mixture.Day 3: Should see some activity/bubbles in the jar and slight sour smell. Add 30g of the starter to a clean jar or bowl and discard the rest. Add 30g cake flour and 30g water to the starter and mix well. Add this mixture to a clean jar. Cover loosely and place on your kitchen counter for another 24 hours. Adjust the elastic to level with the flour-water mixture.Day 4-7: Repeat the above step for the next few days, so feeding 30g of starter with 30g cake flour and 30g water and discarding the remining starter. And ensuring you place the refreshed mixture in a clean jar.Day 7-10: Repeat the feeding and discarding method. By now the starter should rise and fall within 12 hours and instead of being a paste texture it will more of a liquid consistency.Before baking: 9-12 hours before want to start mixing your dough together, you should feed the starter with 60g of cake flour and 60g water. Ensuring you have enough to bake with as well as left with enough starter in your jar that you can feed again and bake with for your next round.Note: Always make sure you have 20g or more starter left in the jar so you can feed it with a 1:1:1 ratio or 1:2:2 ratio (either or works) ensuring you're always building a stronger starter which will yield better loaves. e.g. Ratios - starter : flour : water
Sourdough Bread
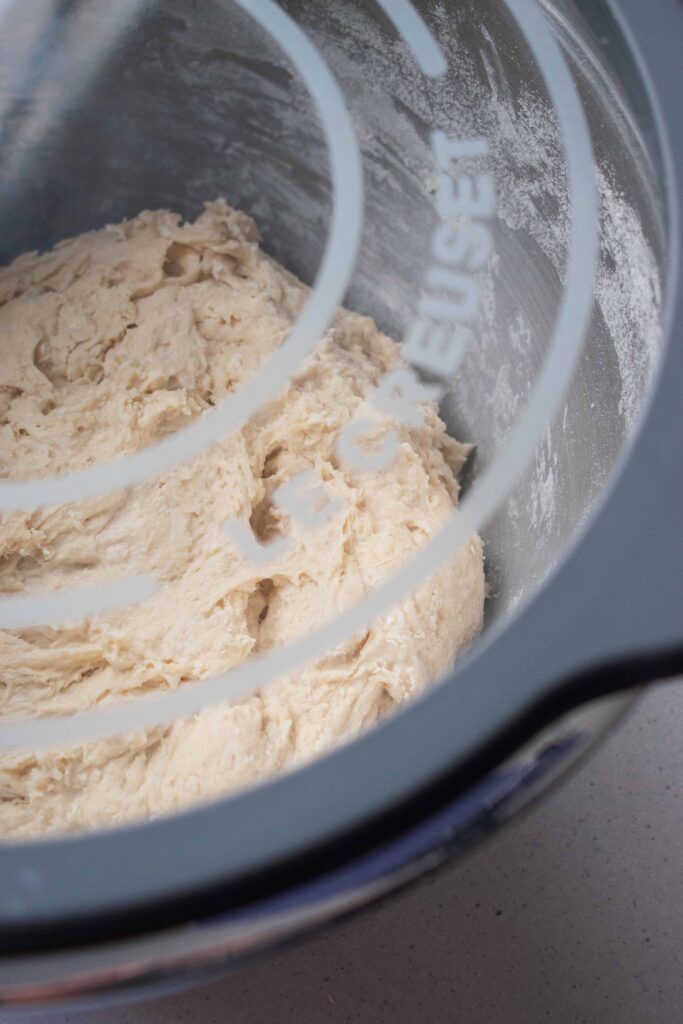
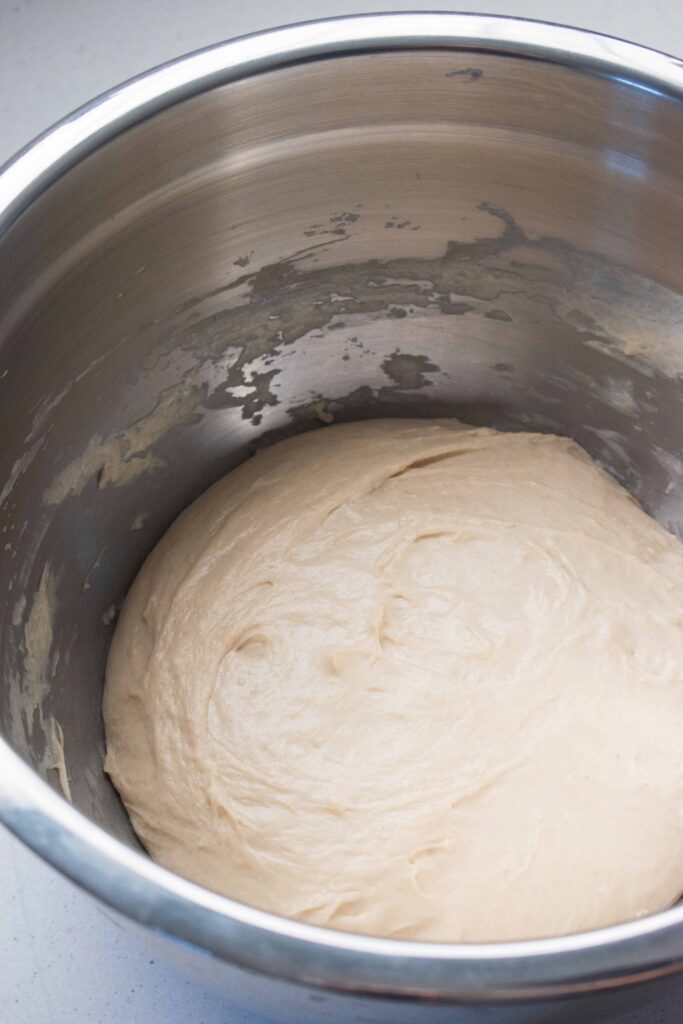
- First mix: In a large bowl, add bread flour and water together. Mix the dough using your hand, it'll be very sticky but mix the dough for 3 minutes. This will kickstart the gluten building process. Cover with a clean cloth and allow the dough to rest for 30 minutes.
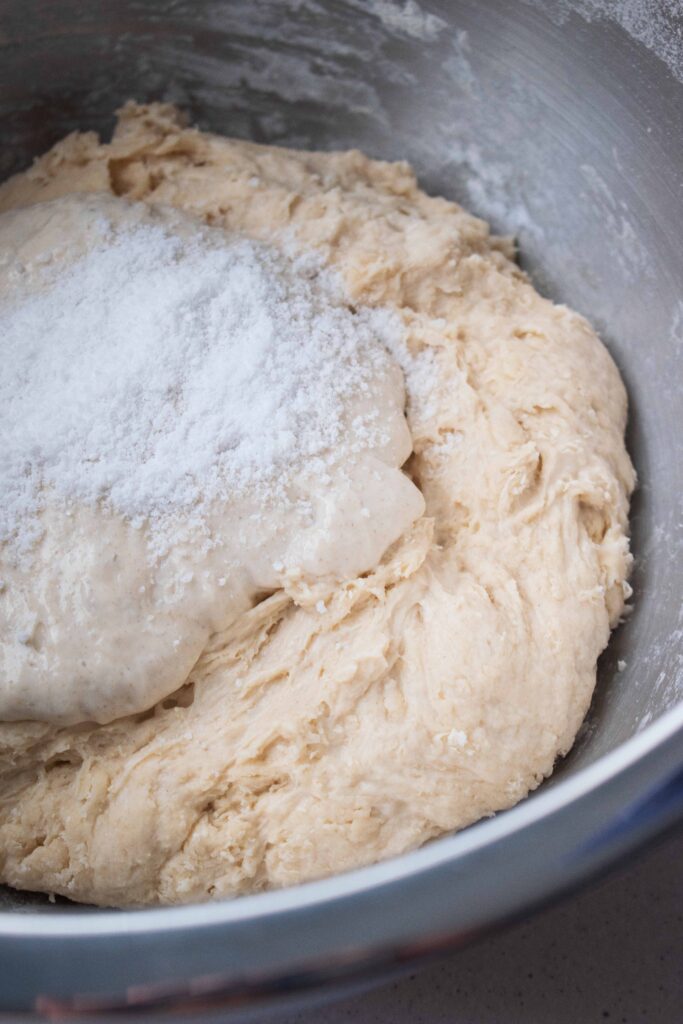
- 2nd mix: Then add the sourdough starter and salt. Combine the ingredients using your hand, using a clawing action, combine the mixture very well. To the point where the dough start pulling away from the sides, about 5 minutes. Smooth out the top, cover and rest for another 30 minutes.
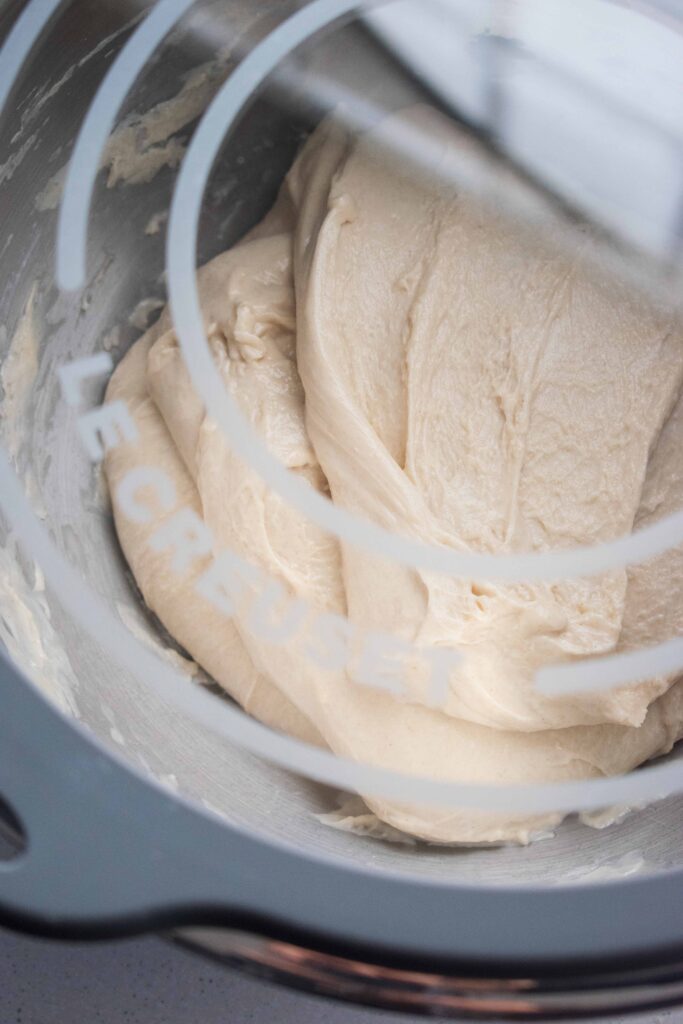
- Stretch and folds: Lightly wet your hands, dig the tips of your fingers into the edge of the dough and stretch the edge upwards and fold it over itself. Turn 1/4 and repeat, completing 4 stretches. Cover and allow the dough to rest for 30 minutes. Repeat 3 more times, allowing the dough to rest 30 minutes in between. Note: see recipe video for reference. Feel free to lightly wet your hands again if the dough becomes too sticky.
- Lifts and Folds and Proofing: After you've completed 4 rounds of stretch and flips. You'll wet your hands, lift the dough and place it down again, allowing the edges to fold underneath itself. This will result in the dough smoothing out on top as it builds tension. Complete about 8 lift and folds and cover. Allow the dough to ferment for 4-6 hours. Note: This could vary depending on the strength of your gluten structure and/or humility in your kitchen. You'll know the dough is ready once it had doubled in size, the surface has small bubbles and the dough has a dome like shape.
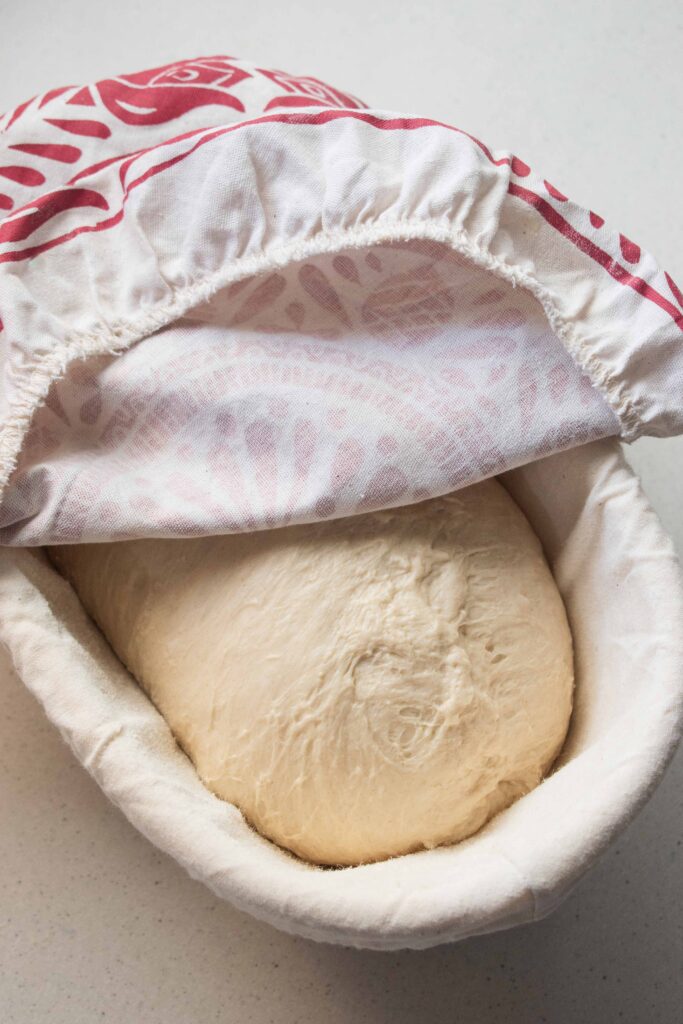
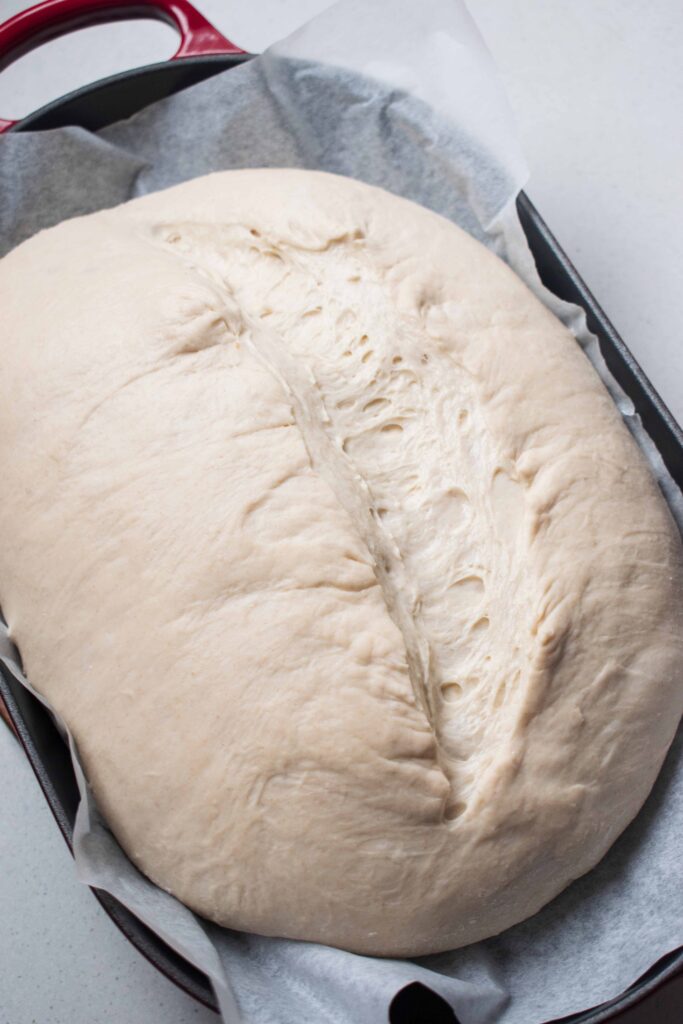
- Shaping: First line a banneton or oval/round basket with a cloth that's dusted with rice or potato flour. Set asideTip the dough on to a clean working surface, with the surface of the dough (the domed side) now at the bottom. Note: if the dough is still sticky after doubling in size, see note 1.Gently stretch the dough into a rectangle, fold the bottom 1/3 halfway, pull the left and right side onwards and over and roll all the dough all the way with the seam at the bottom and pinch the sides, sealing the edges. Use the dough scraper to lift the dough and flip it into the banneton with the seam on top. Pinch the seam closed and cover. Place in the fridge for 2 hours or up to 48 hours.
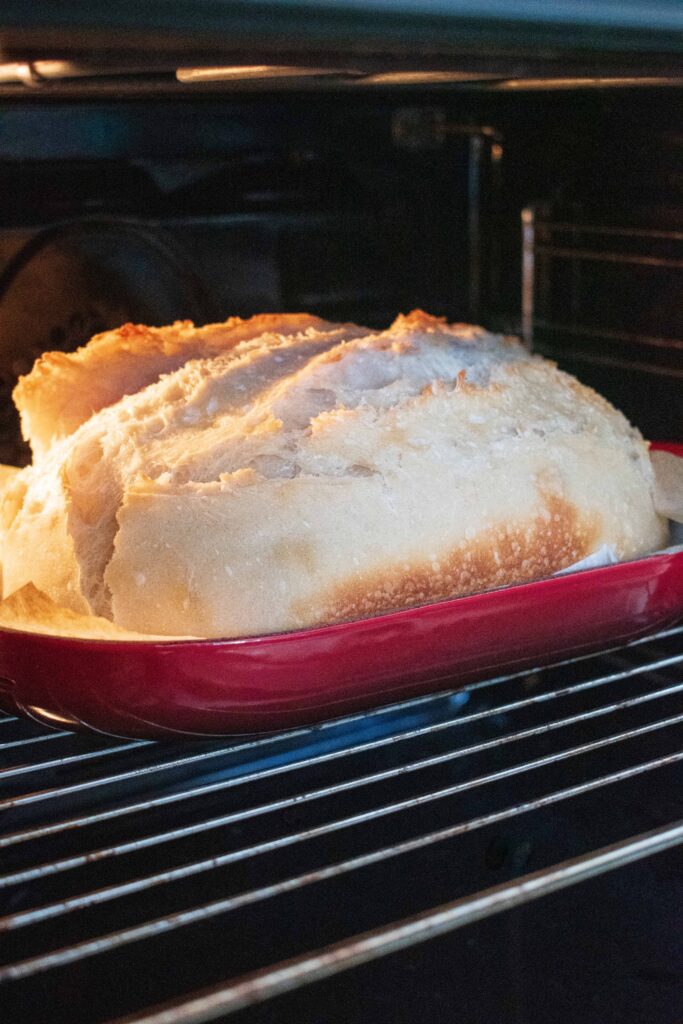
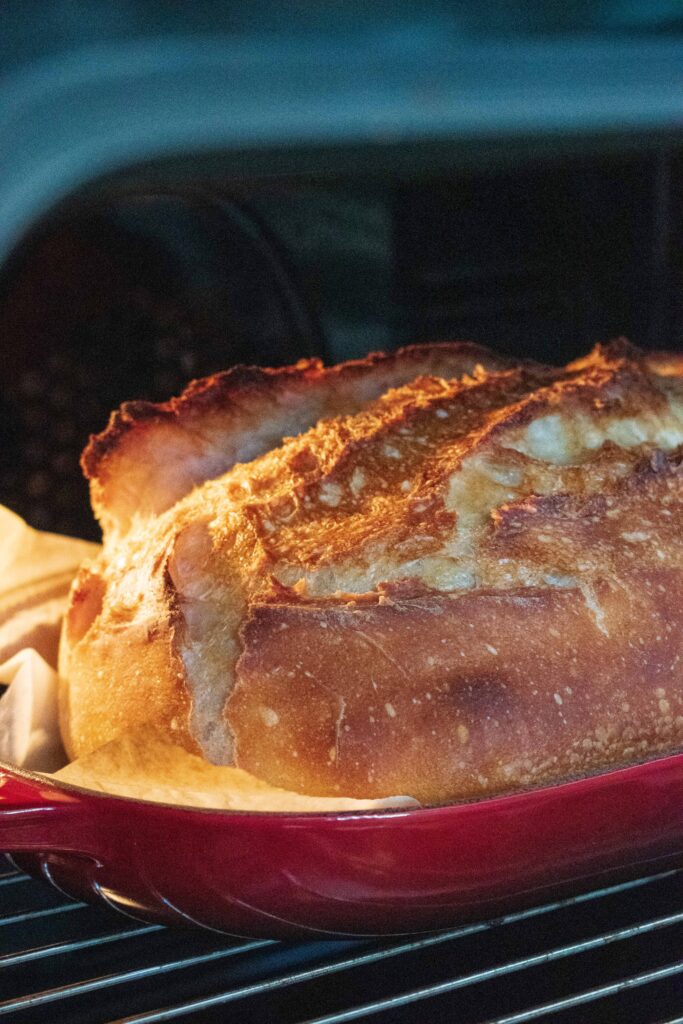
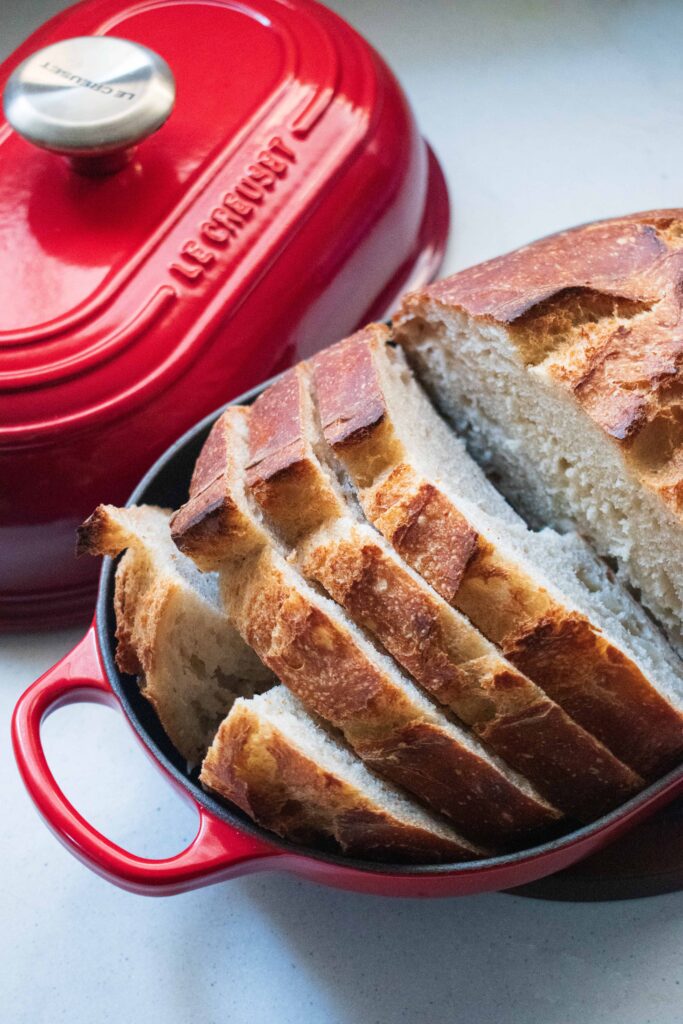
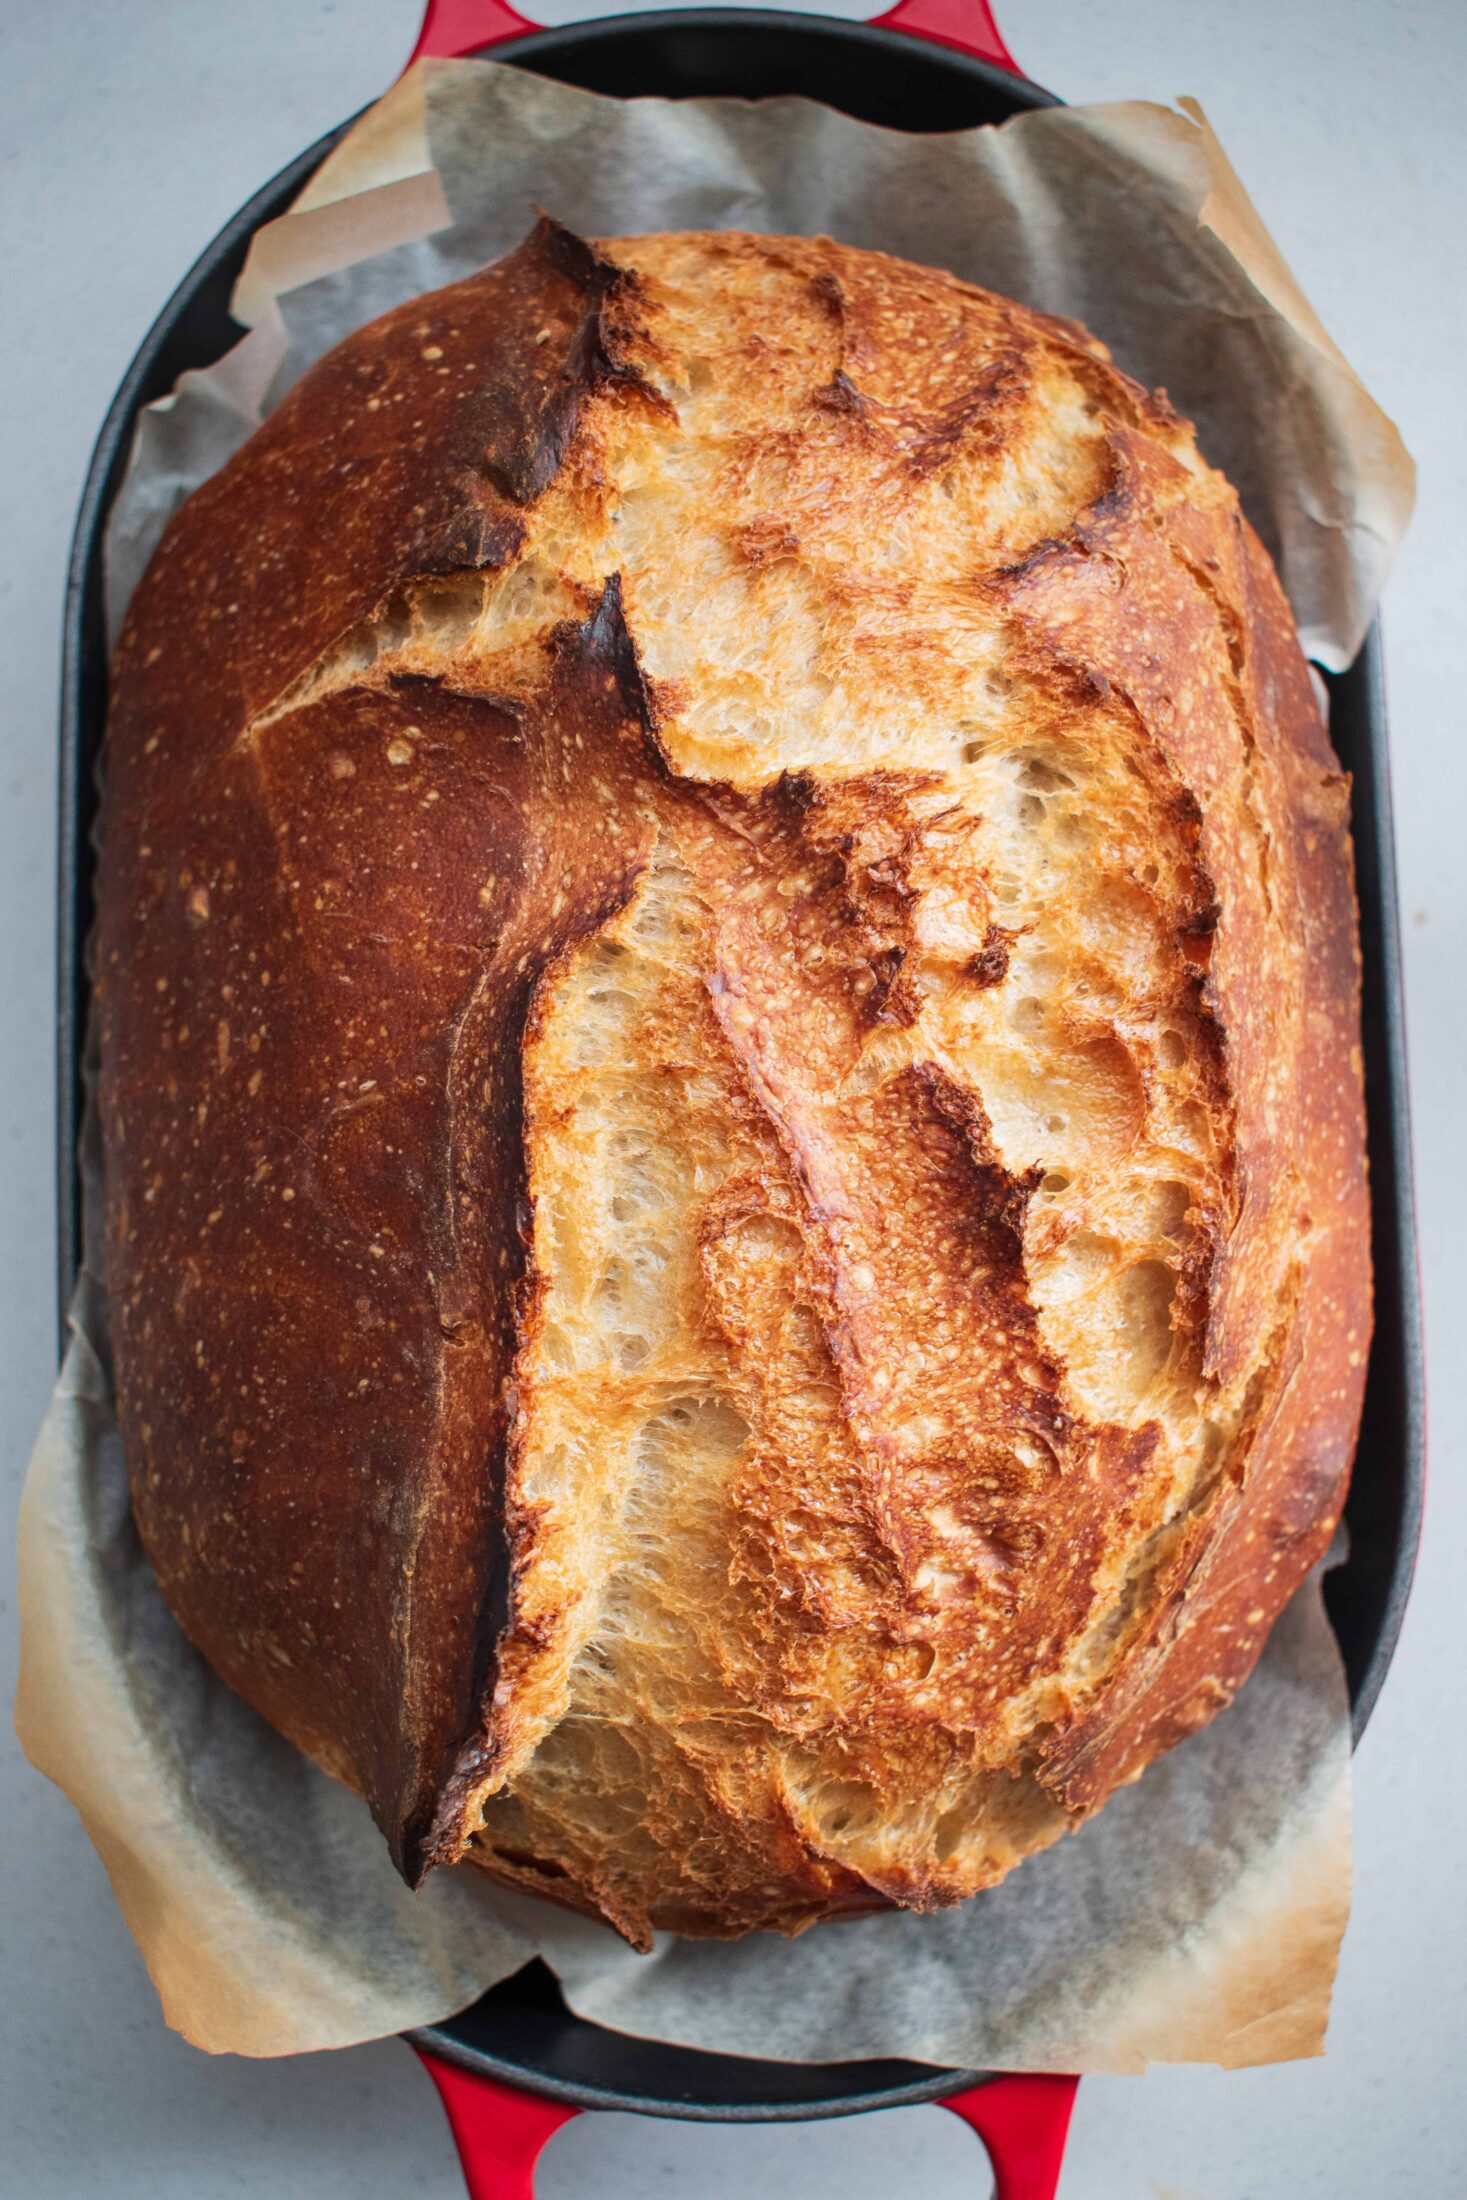
- Baking: Place your bread oven or Dutch oven in the oven with the lid on and preheat the oven to 230℃/446℉ for 45 minutes. Once heated, remove the dough from the fridge and place a sheet of baking paper over the dough, place your hand on top and flip the basket over. Score the surface of the dough by running the blade across the length, about 1/2 inch/1.5cm deep. Remove the heated breadoven/Dutch oven from teh oven, transfer the dough with the baking paper on to the bread oven, pop the lid on and bake in the oven for 20 minutes. Thereafter, remove the lid and bake for another 20 minutes. Remove from the oven and allow to rest for 30 minutes before slicing (if you can resist).
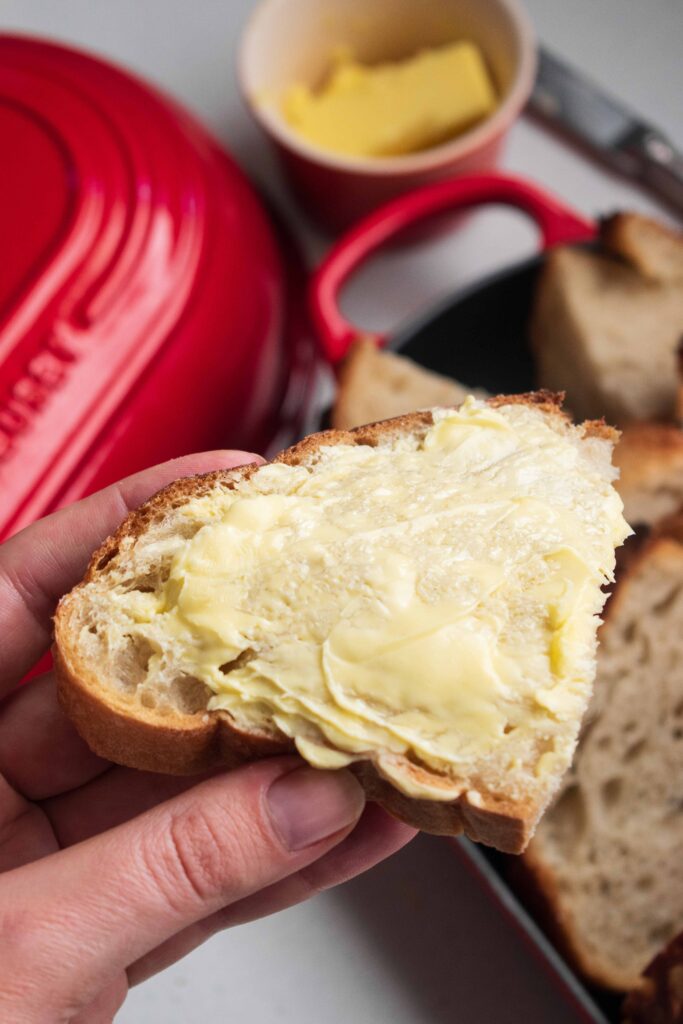
- A friendly reminder: And there you're done! If she didn't come out as you hoped just know, that normal. There are so many external factors that play a roll and trial and error is part of the sourdough journey. Luckily you have to mess up really badly for a loaf to not be tasty because butter fixes everything! Note: I'll be sticking (excuse the pun) with the recipe for a while until I've mastered it and become more confident and I think you should too.
Video
Notes
- Sticky dough: tip the sticky dough onto a clean working surface and gently lift the dough and as you lower it, allow the draped edges to fold under neath itself and repeat until the surface has become smoother, about 10 lifts and folds. Cover with a clean dishcloth and allow the dough to rest for 30 minutes. After that, use an bench scraper to lift and tip the dough over and shape as mentioned in step 6 - the dough should be much less stickier now.