First mix: In a large bowl, add bread flour and water together. Mix the dough using your hand, it'll be very sticky but mix the dough for 3 minutes. This will kickstart the gluten building process. Cover with a clean cloth and allow the dough to rest for 30 minutes.
2nd mix: Then add the sourdough starter and salt. Combine the ingredients using your hand, using a clawing action, combine the mixture very well. To the point where the dough start pulling away from the sides, about 5 minutes. Smooth out the top, cover and rest for another 30 minutes.
Stretch and folds: Lightly wet your hands, dig the tips of your fingers into the edge of the dough and stretch the edge upwards and fold it over itself. Turn 1/4 and repeat, completing 4 stretches. Cover and allow the dough to rest for 30 minutes. Repeat 3 more times, allowing the dough to rest 30 minutes in between. Note: see recipe video for reference. Feel free to lightly wet your hands again if the dough becomes too sticky.
Lifts and Folds and Proofing: After you've completed 4 rounds of stretch and flips. You'll wet your hands, lift the dough and place it down again, allowing the edges to fold underneath itself. This will result in the dough smoothing out on top as it builds tension. Complete about 8 lift and folds and cover. Allow the dough to ferment for 4-6 hours. Note: This could vary depending on the strength of your gluten structure and/or humility in your kitchen. You'll know the dough is ready once it had doubled in size, the surface has small bubbles and the dough has a dome like shape.
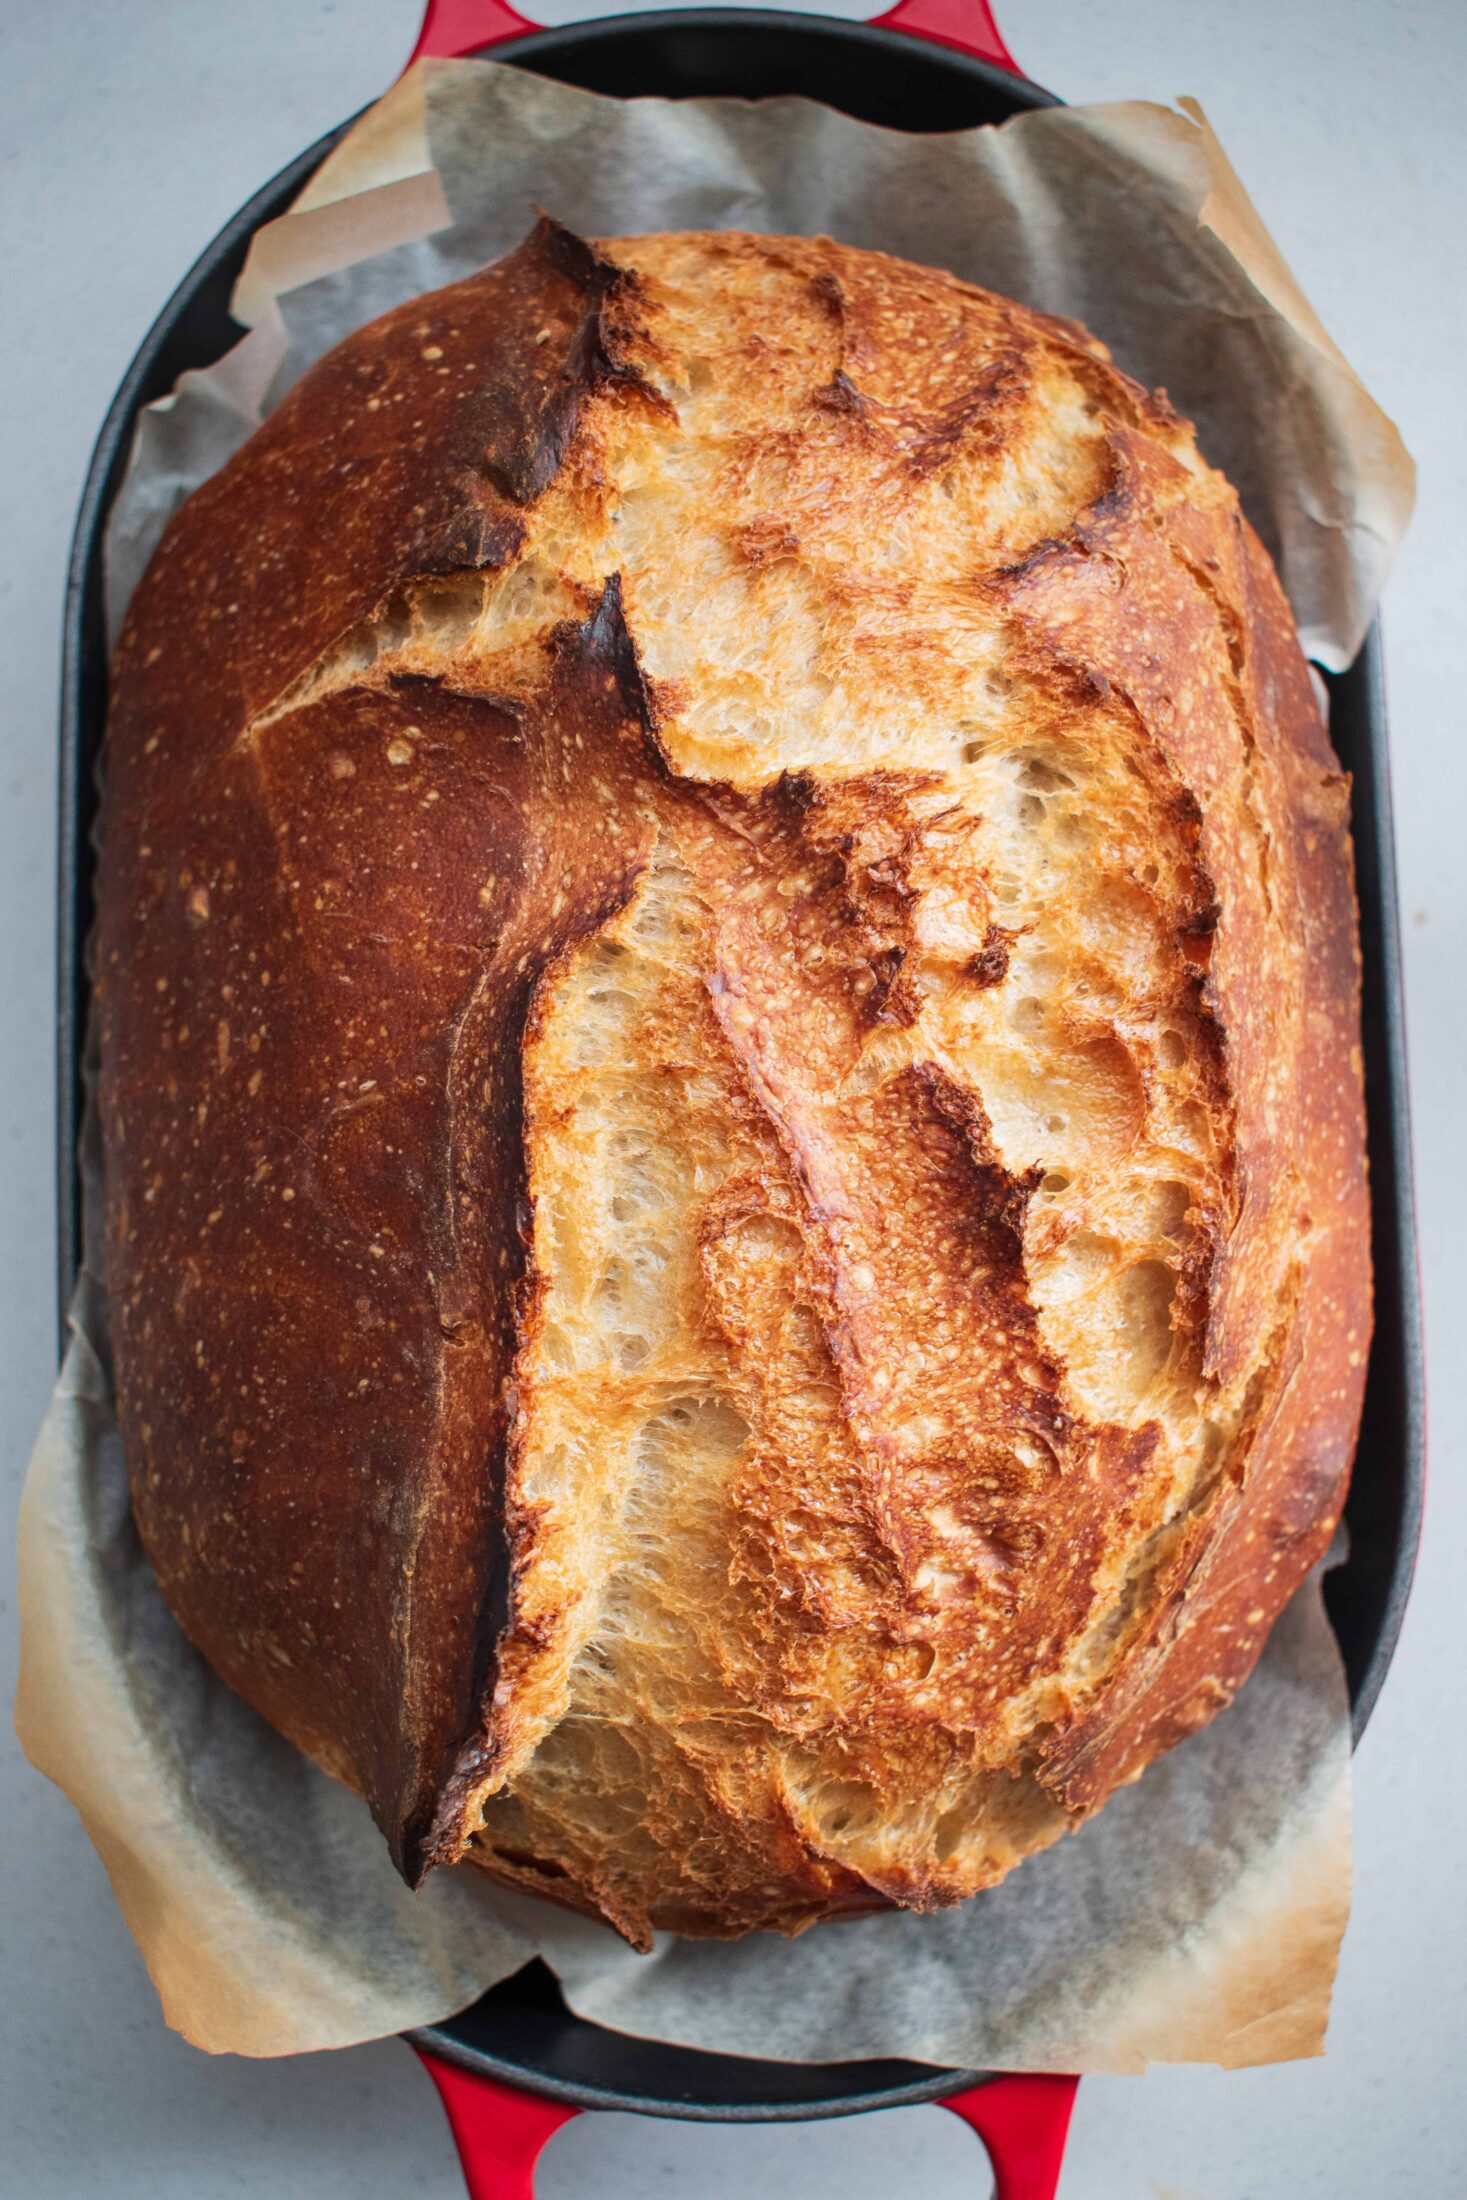
Shaping: First line a banneton or oval/round basket with a cloth that's dusted with rice or potato flour. Set asideTip the dough on to a clean working surface, with the surface of the dough (the domed side) now at the bottom. Note: if the dough is still sticky after doubling in size, see note 1.Gently stretch the dough into a rectangle, fold the bottom 1/3 halfway, pull the left and right side onwards and over and roll all the dough all the way with the seam at the bottom and pinch the sides, sealing the edges. Use the dough scraper to lift the dough and flip it into the banneton with the seam on top. Pinch the seam closed and cover. Place in the fridge for 2 hours or up to 48 hours. Baking: Place your bread oven or Dutch oven in the oven with the lid on and preheat the oven to 230℃/446℉ for 45 minutes. Once heated, remove the dough from the fridge and place a sheet of baking paper over the dough, place your hand on top and flip the basket over. Score the surface of the dough by running the blade across the length, about 1/2 inch/1.5cm deep. Remove the heated breadoven/Dutch oven from teh oven, transfer the dough with the baking paper on to the bread oven, pop the lid on and bake in the oven for 20 minutes. Thereafter, remove the lid and bake for another 20 minutes. Remove from the oven and allow to rest for 30 minutes before slicing (if you can resist).
A friendly reminder: And there you're done! If she didn't come out as you hoped just know, that normal. There are so many external factors that play a roll and trial and error is part of the sourdough journey. Luckily you have to mess up really badly for a loaf to not be tasty because butter fixes everything! Note: I'll be sticking (excuse the pun) with the recipe for a while until I've mastered it and become more confident and I think you should too.